

Sometimes an idea starts with simply seeing something that makes you think, “I wonder if I could do that?”
That’s what happened with this wide elastic side/back band hack. I came across an image on Pinterest that used wide elastic in a way that caught my attention, and it got me thinking about how I could incorporate a similar idea into one of my own bras.
After a little experimenting, I came up with a way to use wide elastic in place of the traditional power net and elastic combination in the side and back band. I thought I’d share what I did in case you’d like to give it a try, too.
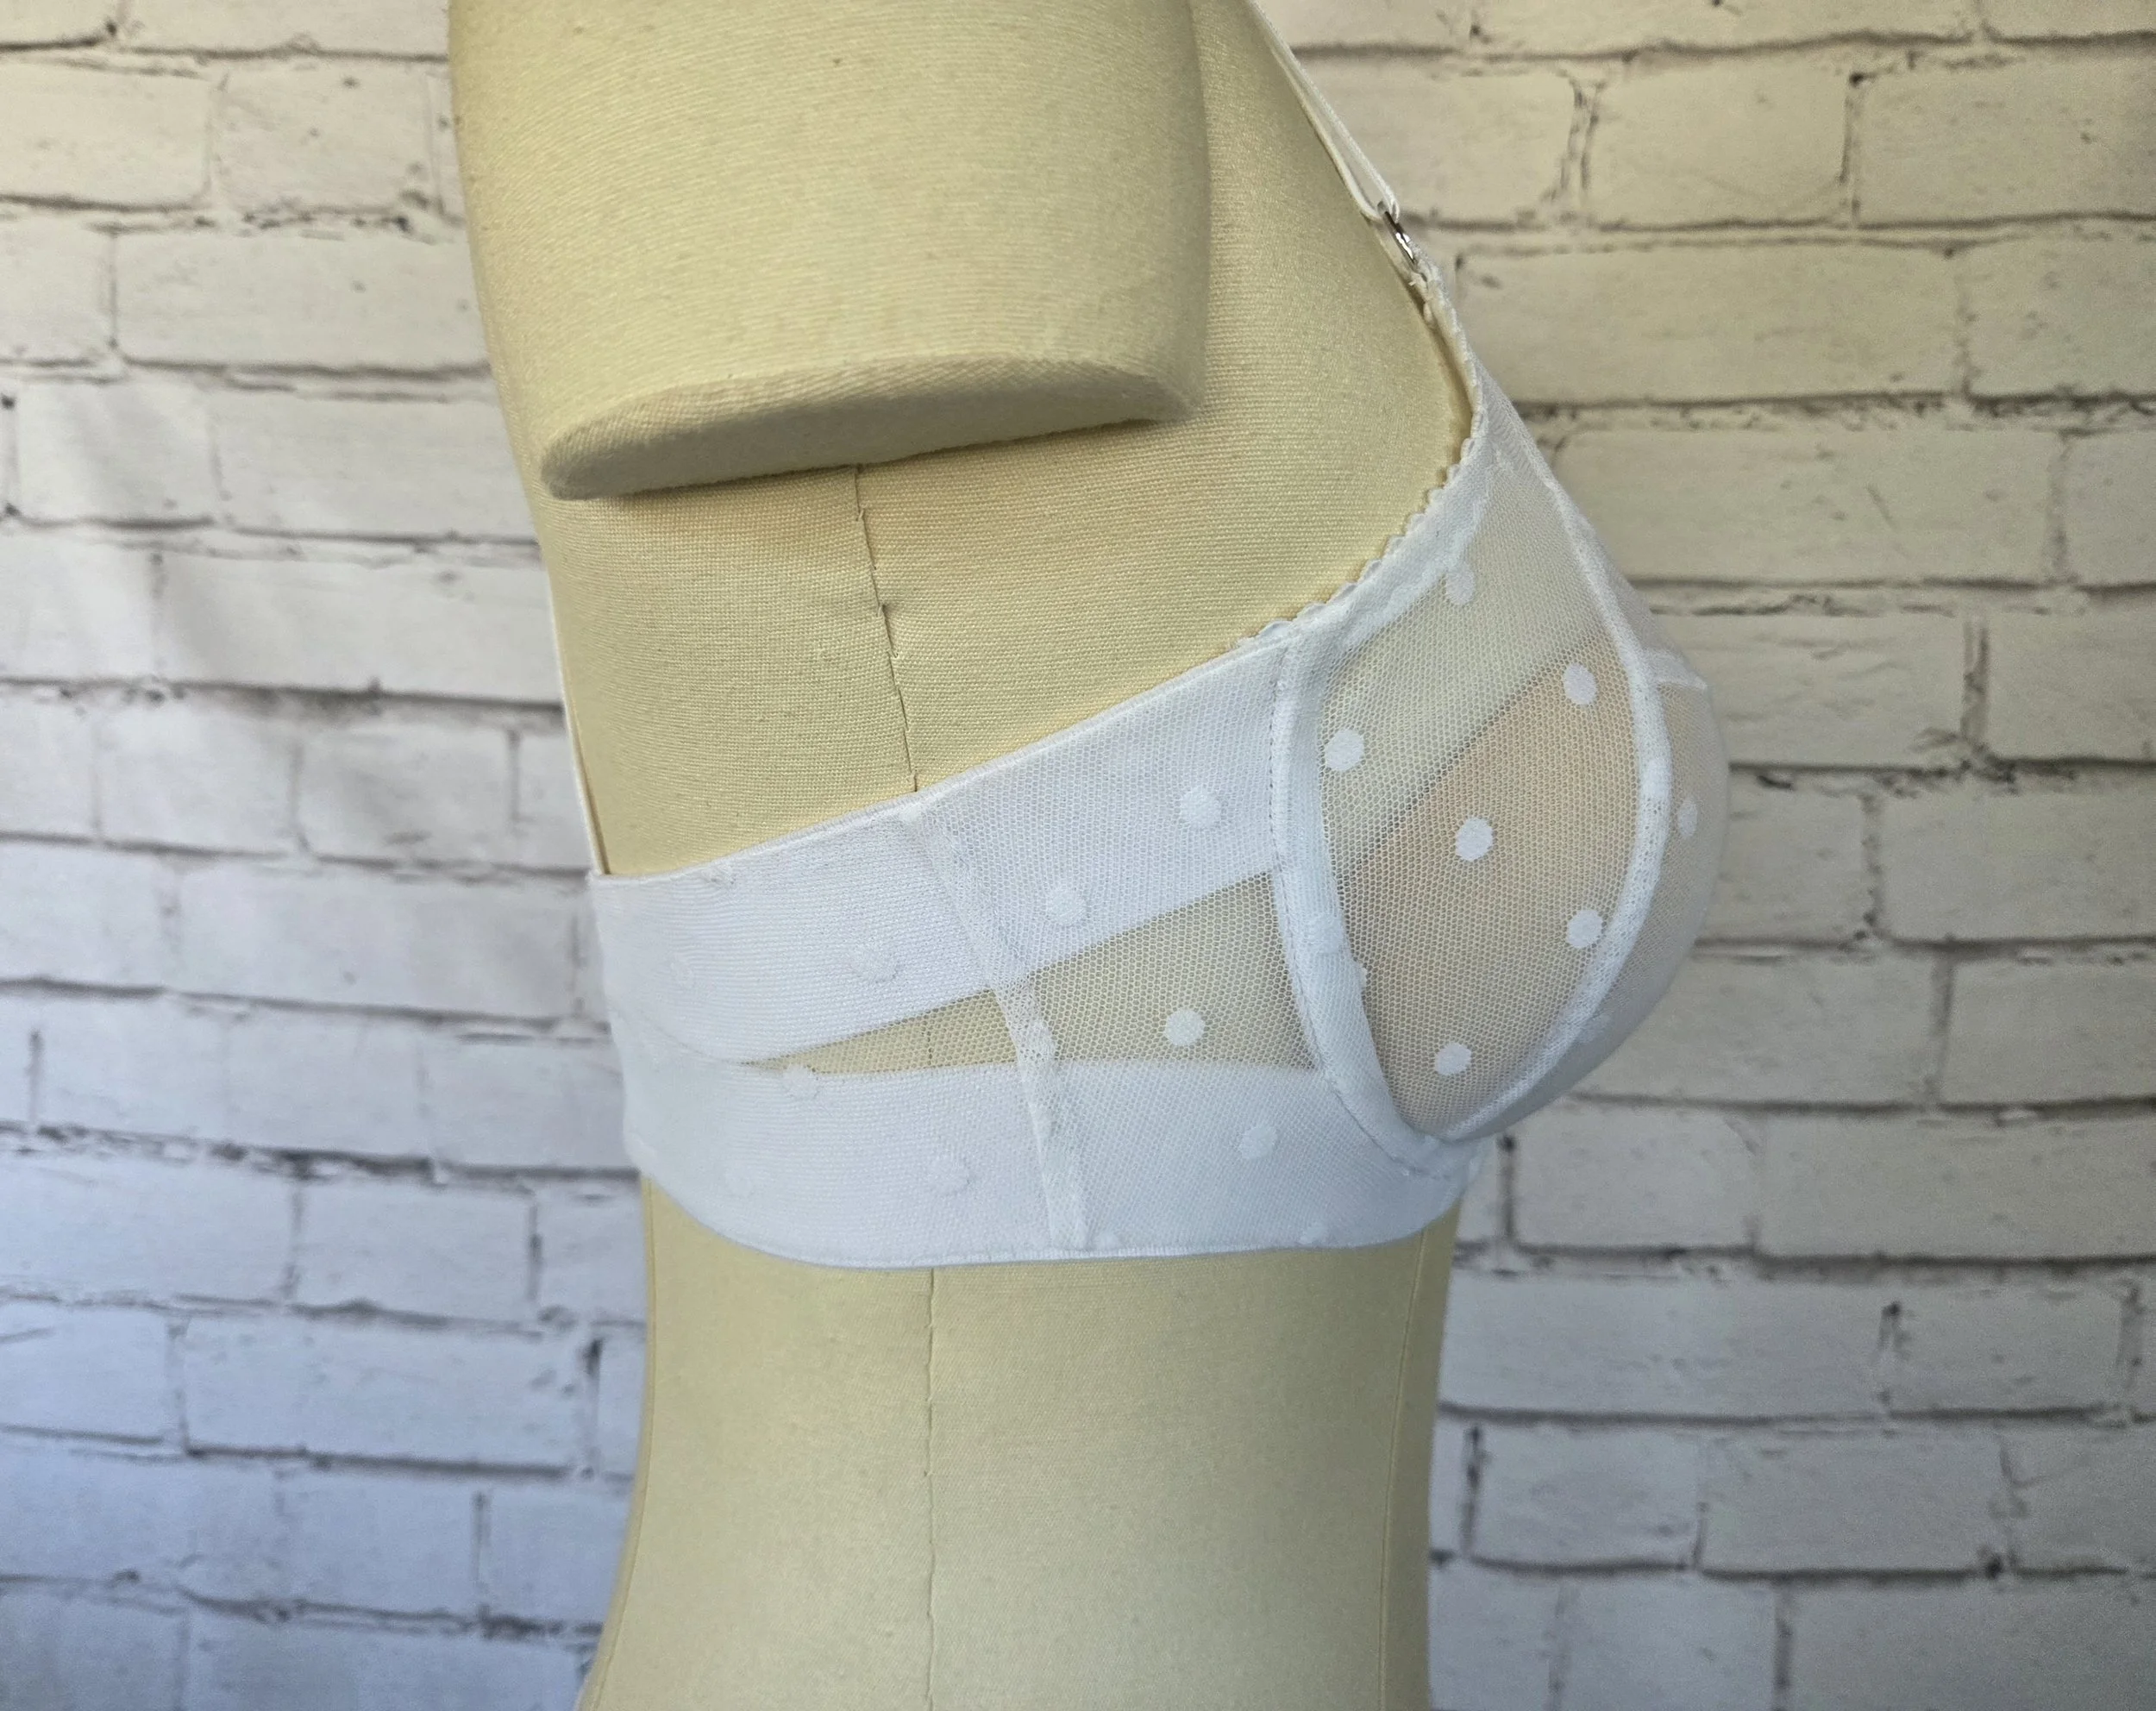
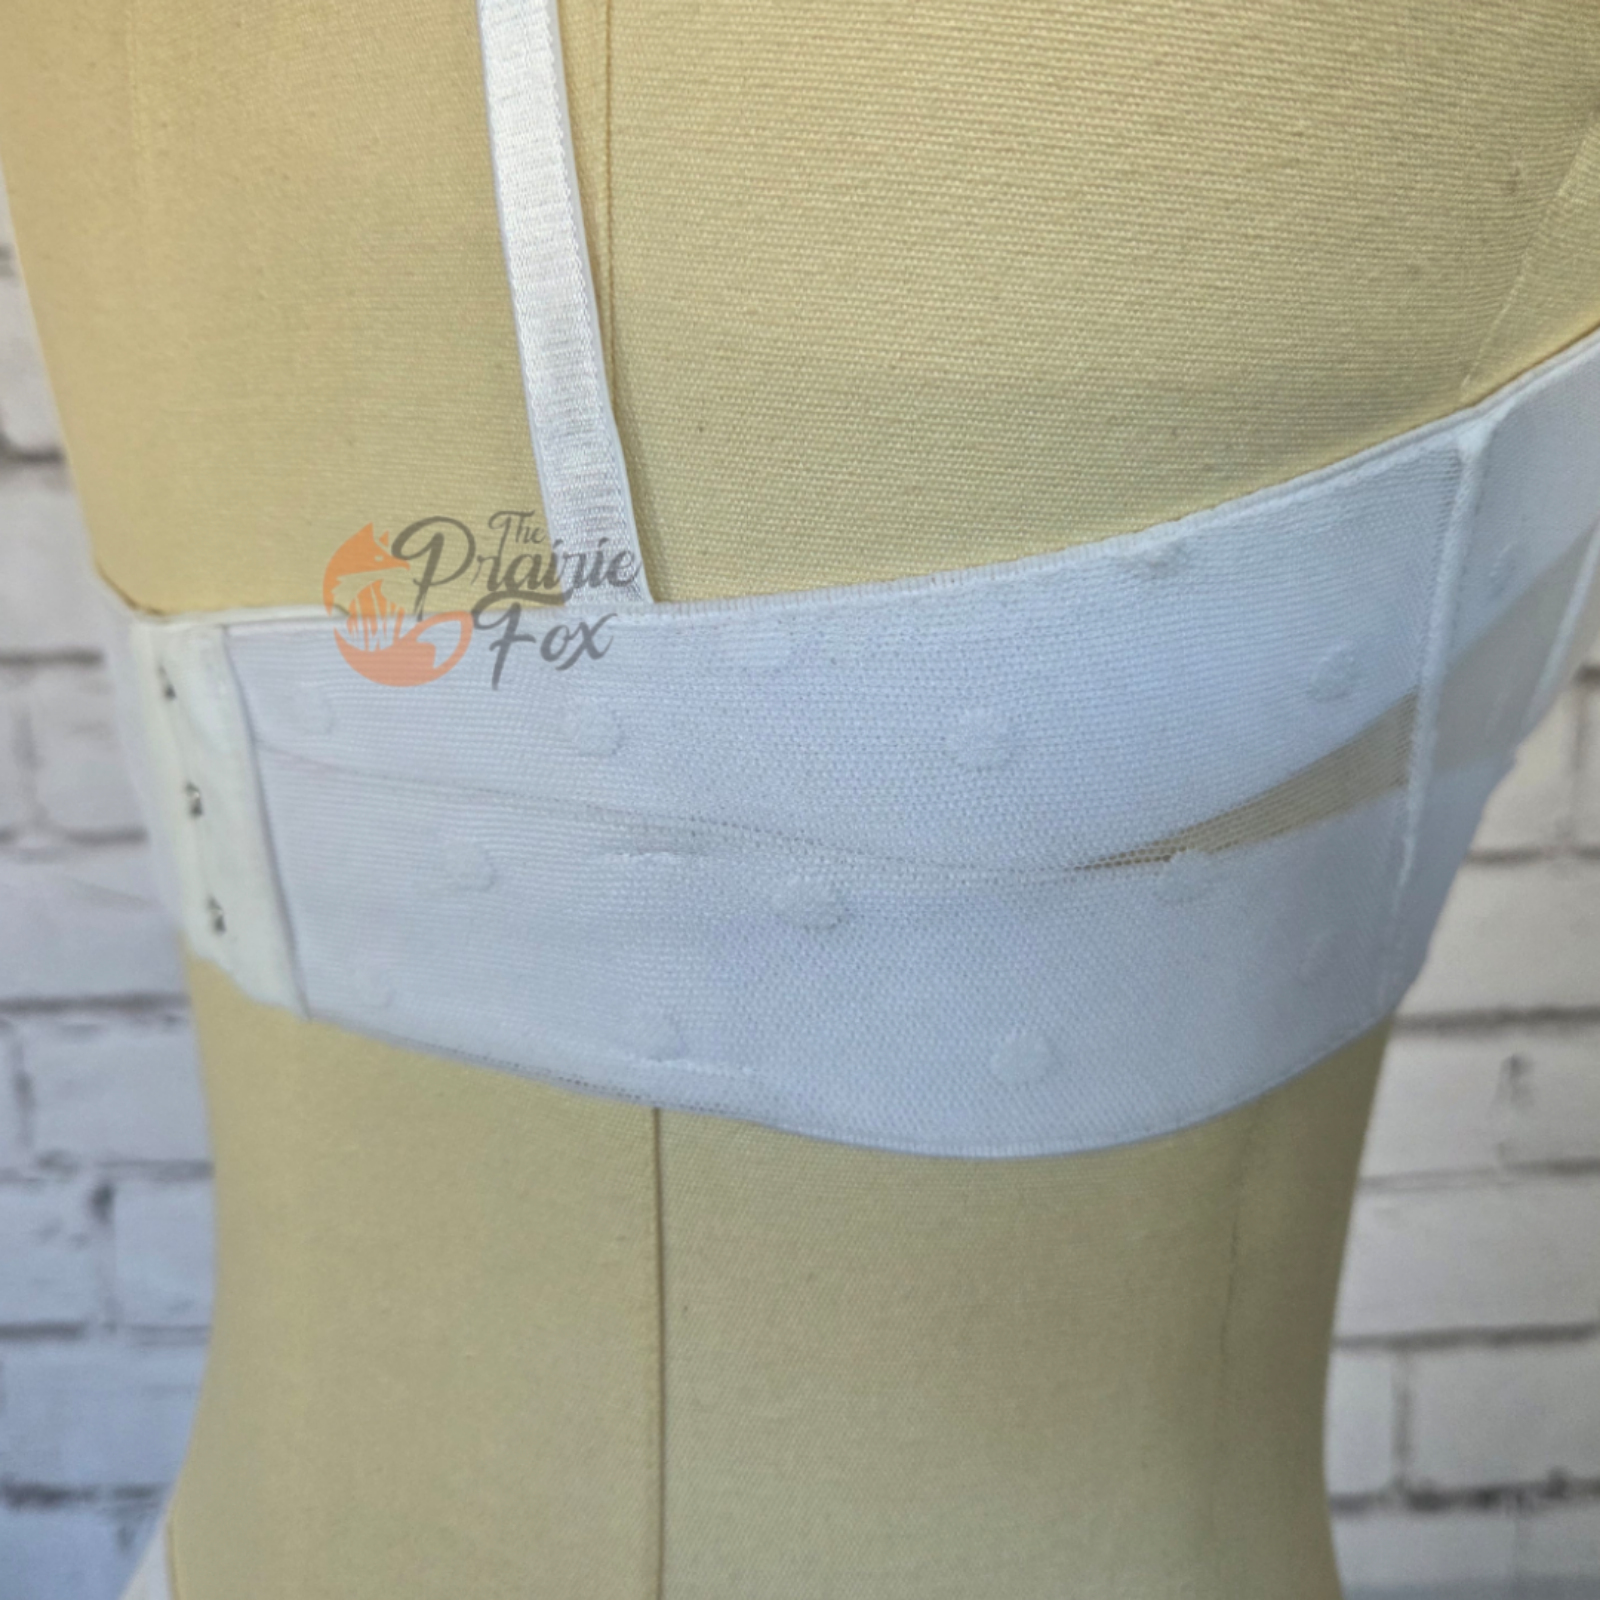
Inspiration for this hack
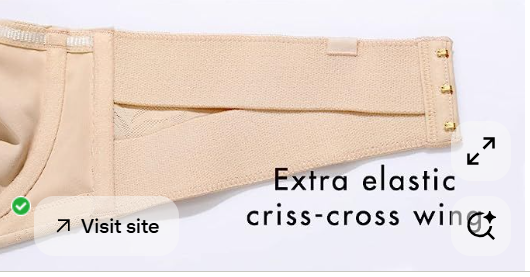
Sometimes an idea starts with simply seeing something that makes you think, “I wonder if I could do that?”
For me, that was a photo I came across on Pinterest that used wide elastic in an interesting way. It got me thinking about how I could incorporate something similar into one of my own bras while also giving it a fun, unique look.
What You’ll Need
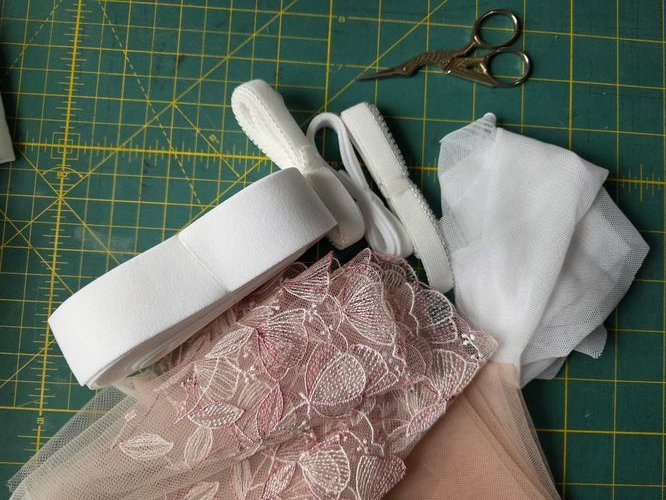
Here’s what you’ll need for this hack:
Desired bra pattern
Wide elastic of your preferred width but also with the firmness that matches the firmness of the power net you typically use for your back band
For this particular bra I used 1” wide plush waste band elastic
Stretch Mesh or other equivalent stretch fabric that you can see the elastic through if desired. You can use Power Net if you don’t want the elastic visible like mine. Note: the firmness/tension of your band will be coming from the wide elastic and not the fabric… so you can be creative here.
The Hack
Step 1 — Back/Side Assembling
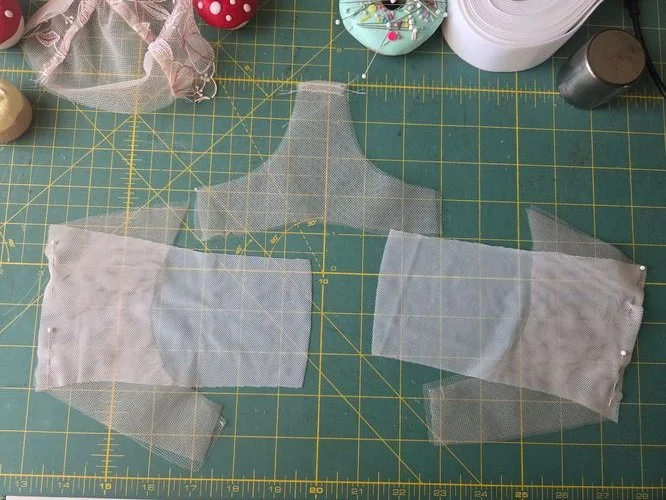
Assemble your Side Cradle piece and the back wing as normal.
I do enclosed seams, which means the back wing is sandwiched between my inner and outer layers of the side cradle.
Step 2 & 3 — Applying Wide Elastic Top and Bottom
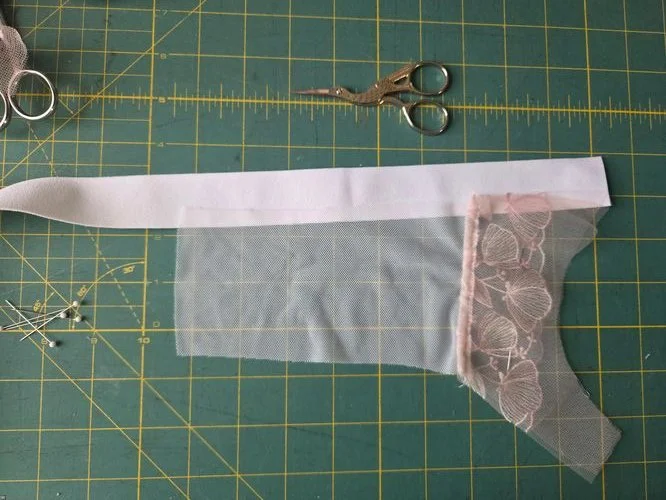
Lay the wide elastic along the top and bottom of the side/back pieces to determine the length needed. I usually cut it a little bit longer to give myself a little to hold when I start to sew the elastic on.
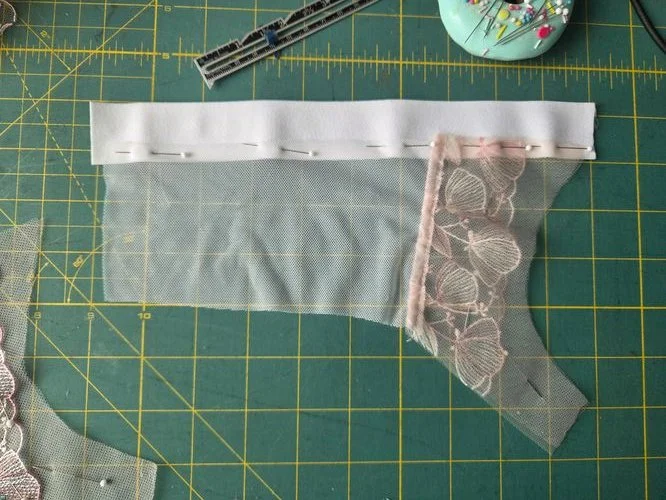
Place the elastic with the non-plush side facing up.
Place the side/back piece wrong side up on top of the elastic, overlapping the elastic by 3/8" (or your pattern’s seam allowance for that area).
Using a small zigzag stitch, sew along the edge of the elastic.
Trim away any excess fabric, just as you would when applying picot elastic to a regular bra back band.
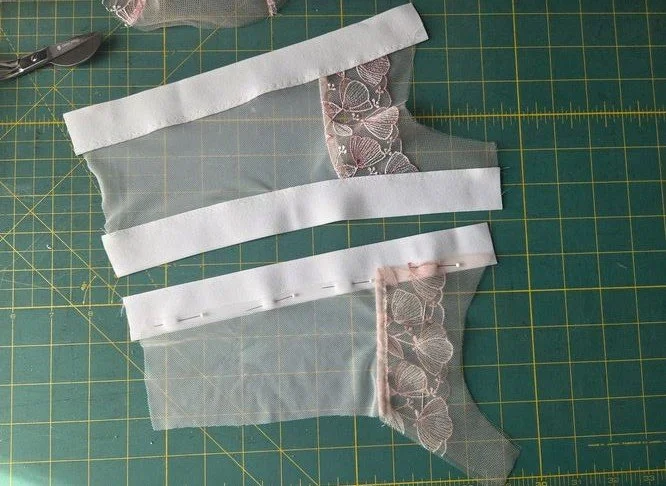
Repeat for the lower edge for both sides.
Step 4 — Attach the Cradle and Sides
Attach the cradle and sides, stopping at the wide elastic. Be sure to secure this seam.
Apply the lower band elastic to the center front as you would with a normal bra. Be careful not to catch the wide elastic in this seam.
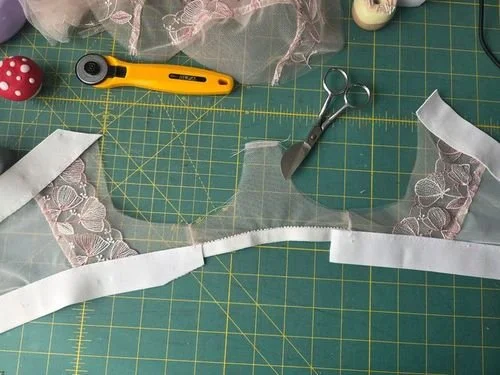
Do NOT flip up and sew yet.
Step 5 — Trim the Wide Elastic
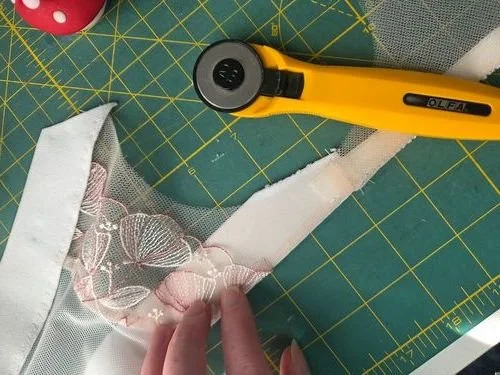
At this point, you can trim the wide elastic to match the wireline. Please note that you may need to trim a little more after the cups are installed.
Note: All cut edges of the elastic will be enclosed under the channel when the bra is finished.
Step 6 — Under Arm Elastic Connections
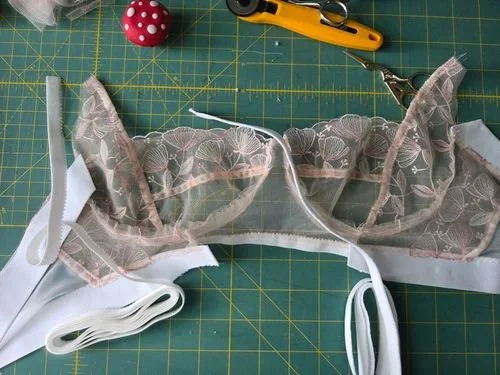
Sew channeling on as you would any bra
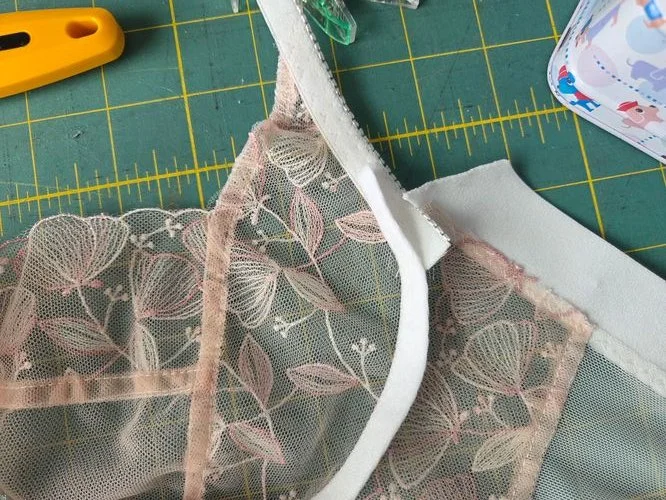
Next, apply the underarm elastic up to the wide elastic. Be sure not to catch the wide elastic in the seam, and leave a tail of the underarm elastic long enough to overlap when finished.
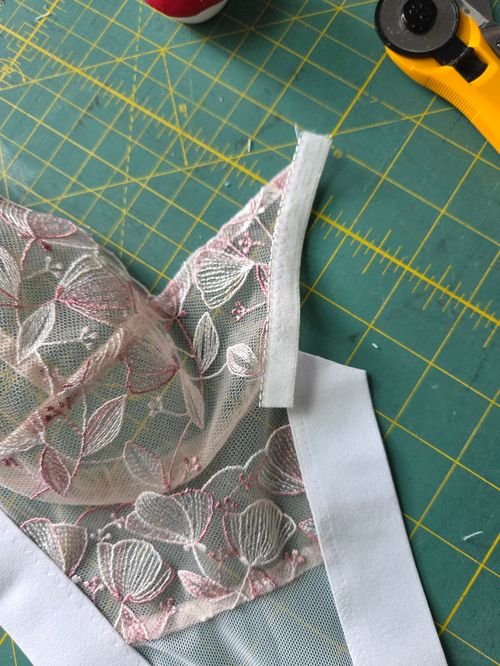
View of the under arm elastic from the front of the bra
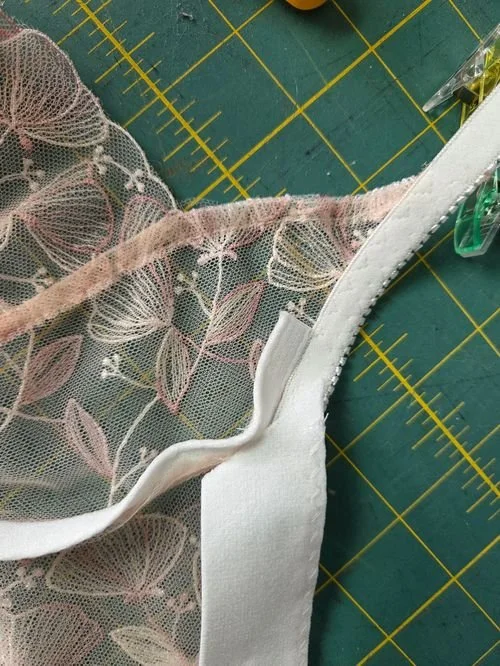
Sew down the underarm elastic with the second pass, being careful not to catch the channeling or the wide elastic. Be sure to tuck the tail of the underarm elastic under the wide elastic.
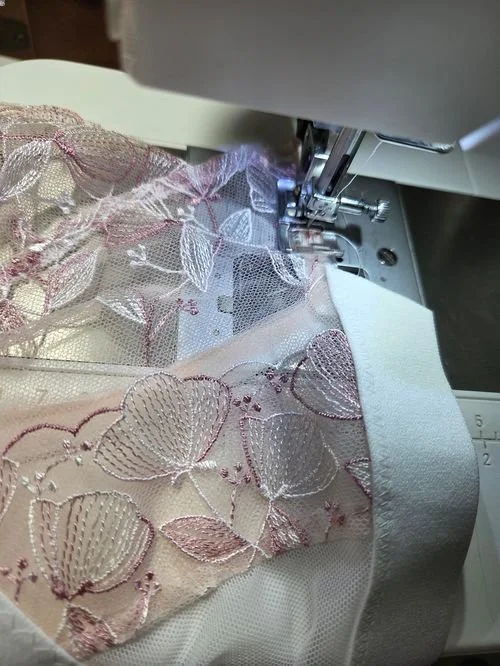
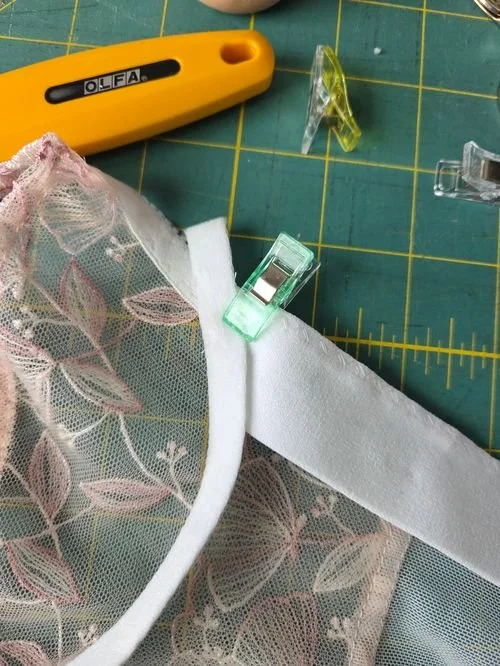
Once you have sewn down the underarm elastic on both sides, with the tails tucked under the wide elastic, it’s time to sew down the channeling.
Trim the wide elastic to fit the wireline, making sure the wide elastic is layered underneath the channeling.
Step 7 — Under Bust Elastic Connections
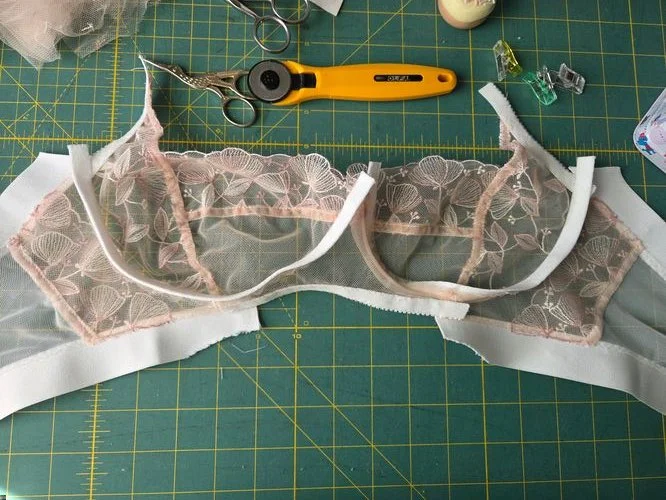
Flip up the underbust elastic and sew the second pass. Be sure not to catch the wide elastic in the seam.
Next, flip the wide elastic up and over the underbust elastic so that it is layered underneath the channeling.
Please note that you may need to trim the wide elastic a little more to fit neatly into the wireline. Depending on how much of the channeling covers the edge, you may or may not have a small raw edge of the elastic showing.
This is one finishing detail I’m still working on to achieve a cleaner finish.
Once everything is positioned, pin or clip the layers in place before sewing down the channeling.
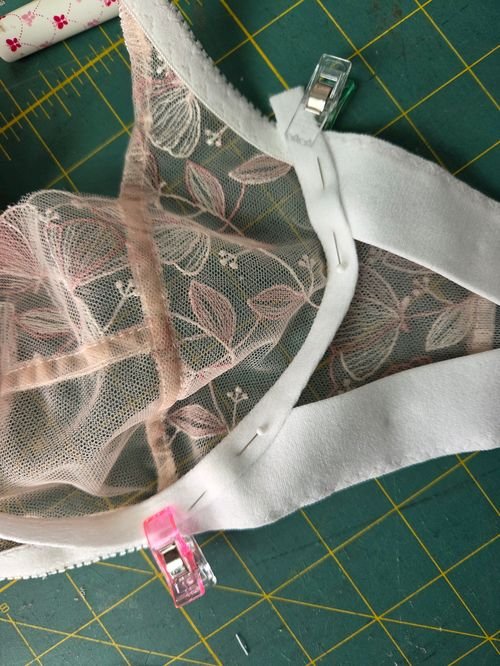
Use extra pins to hold the wide elastic and channeling securely in place.
Sew the channeling as you would on any bra.
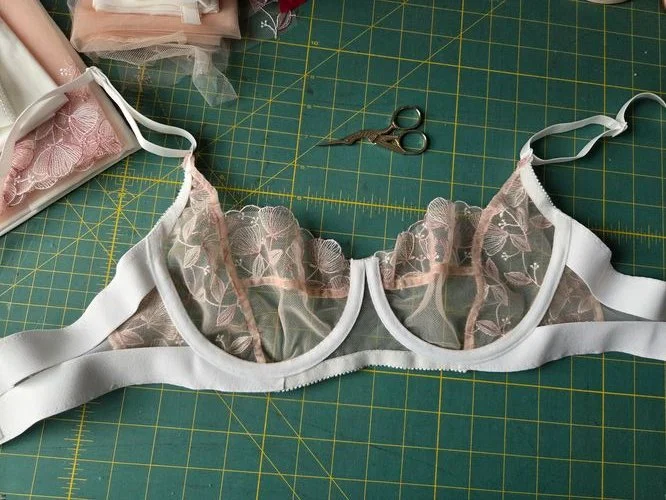
This is what it should look like at this point.
You can finish the top edge of the channeling as you normally would after inserting your wire.
Step 6 — Hook and Eye/Straps
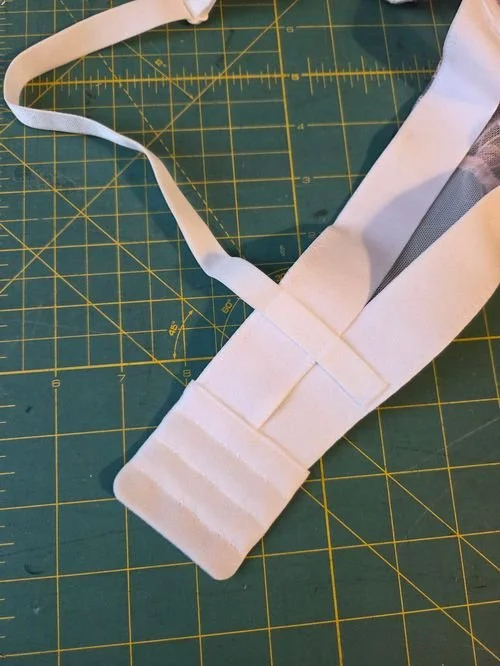
When attaching the hook and eye, you may need to overlap the wide elastic. The overlap can be either top over bottom or bottom over top, depending on your preference.
How you attach the strap is also up to you. In my case, I used my strap attachment to secure the overlap and keep the wide elastic in place, and it worked beautifully.
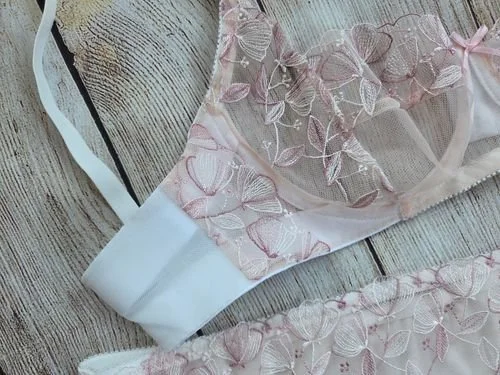
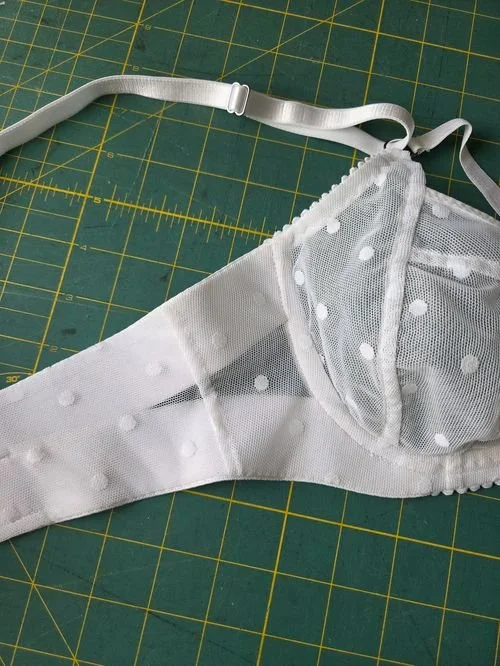
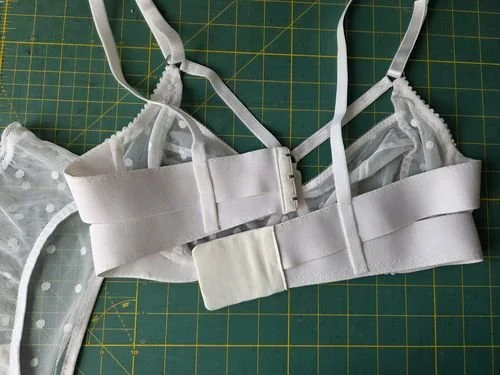
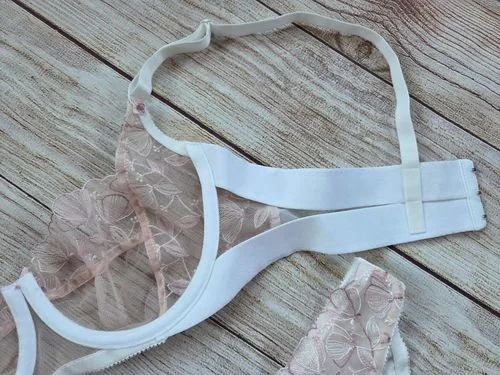
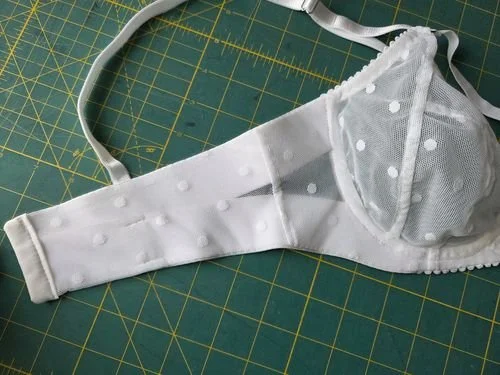
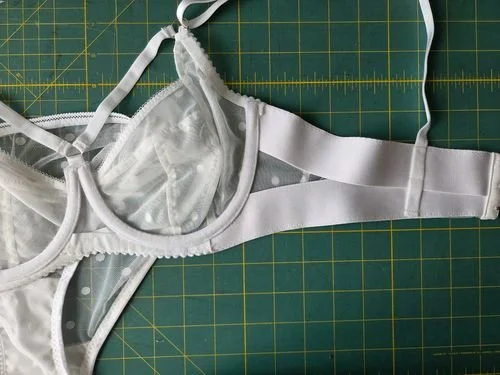
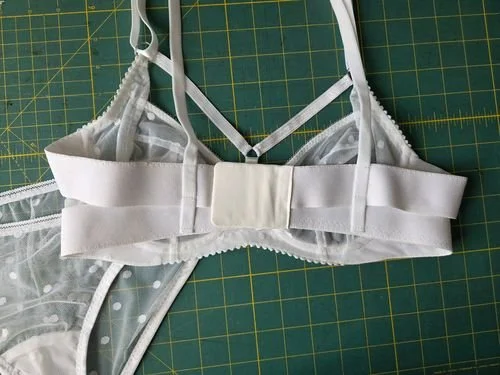
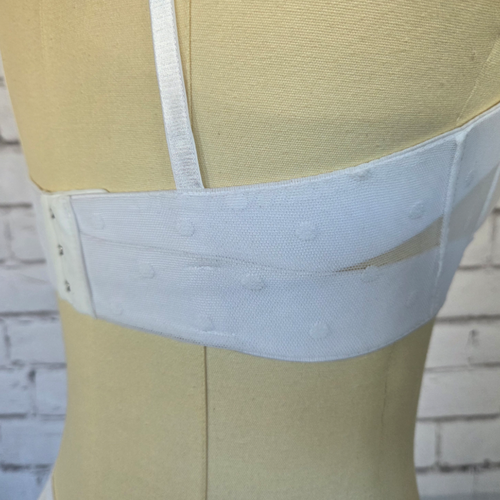
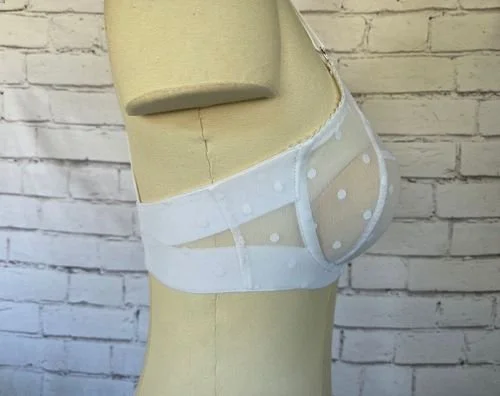
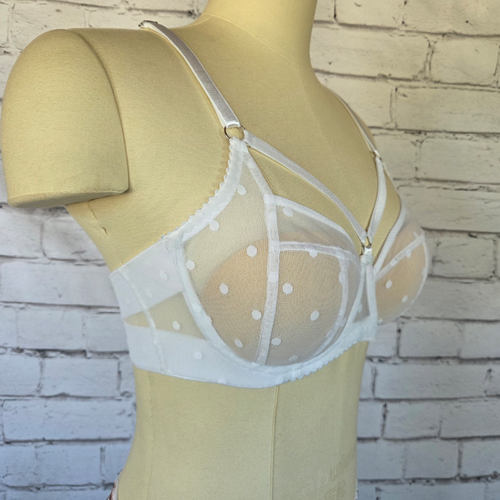
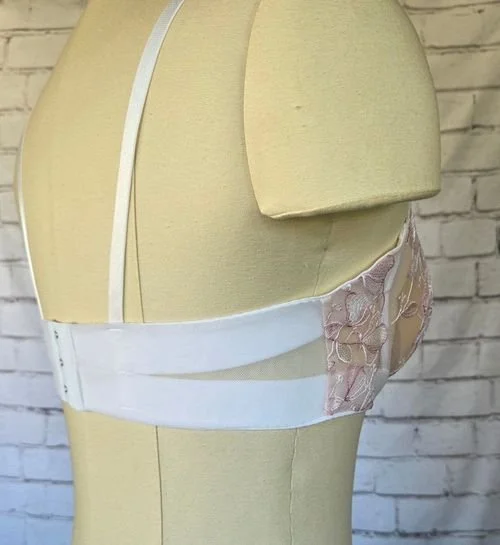
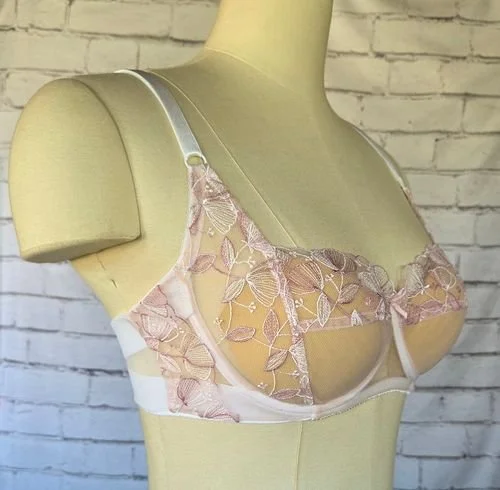
Supplies for both bras pictured are from Emerald Erin (Flutterby Lace Kit) and Bra Builders (Dotted Stretch Mesh, and wide elastic)
Final Thoughts
And that’s it! This is how I created my wide elastic side/back band hack. It was a fun experiment, and I really enjoyed figuring out how to make the wide elastic work with the rest of the bra construction.
That said, this is definitely one of those projects where I encourage you to use your creativity and make it your own. There may be a better or easier way to do some of these steps, and I’d love to hear your ideas!
If you try this hack or come up with a different way of making it work, please share it with me. I’d love to see what you come up with and learn from your experiments, too.